TL;DR: Most dash cam issues come from poor power choice or messy wiring; correct fuse selection, a quality hardwire kit and a solid ground stop almost all radio static, reboots and battery drain. A tidy hardwire and the right fuse choice give you reliable footage and fewer surprises down the track.
Key Takeaways:
- Always verify ACC and constant with a multimeter before tapping any fuse.
- Use a hardwire kit with low‑voltage cut‑off and low standby draw.
- Ground to bare metal and route power away from antenna, audio and CAN looms, and airbag zones.
- Fit an external battery pack for reliable long‑term parking mode.
Where The “electrical gremlins” Really Come From
Most dash cam ‘gremlins’ start at the power source and cable routing. Feed the camera from the wrong fuse or a flimsy adaptor and you can leak noise into sensitive circuits.
Common culprits are cheap plug‑in USB adaptors, poor earths, tapping high‑priority fuses, running power alongside antenna or CAN looms, and low‑grade hardwire kits with weak regulation. These cause radio static, glitches, reboots or battery drain when the car should sleep.
Modern Cars are Sensitive to Noise
Late‑model vehicles run networks like CAN and LIN that chat constantly to manage safety and comfort. Random power spikes or wake signals from a careless tap can confuse those networks and trigger warning lights.
What this means in practice:
- Infotainment, climate and instrument clusters share data buses, so a bad tap can wake modules and drain the battery.
- Cheap 5V adaptors can inject noise into audio and camera lines, causing static or flicker.
- ADAS and safety systems need clean power; sharing their fuses raises the risk of camera dropouts or system errors.
If you want to read about how modern dash cams can do more than record and even warn of an imminent crash, see Your dash cam can tell when you’re about to crash: creepy or genius.
Exactly How a Pro Prevents Interference
A tidy, methodical approach keeps the electronics happy and the footage reliable. The steps below are standard practice we use across Melbourne on everything from utes to EVs.
Pick the right fuses on a test light, not a guess
Use an add‑a‑circuit to pull ACC power from a non‑critical fuse that turns off with the key. A quick check with a test light or multimeter confirms what is truly ACC and what is constant so you do not wake sleeping modules.
Take constant power for parking mode from a safe always‑hot fuse that does not wake control modules. Avoid airbag, ABS, BCM and ADAS fuses because they can trigger faults or drain the battery.
- Good ACC picks: spare 12V socket, radio or wiper fuse that dies with the key.
- Good constant picks: interior lights or memory circuits that stay live without waking control units.
- Skip these every time: SRS, ABS, power steering and anything marked “safety”.
Use quality hardwire kits with protection
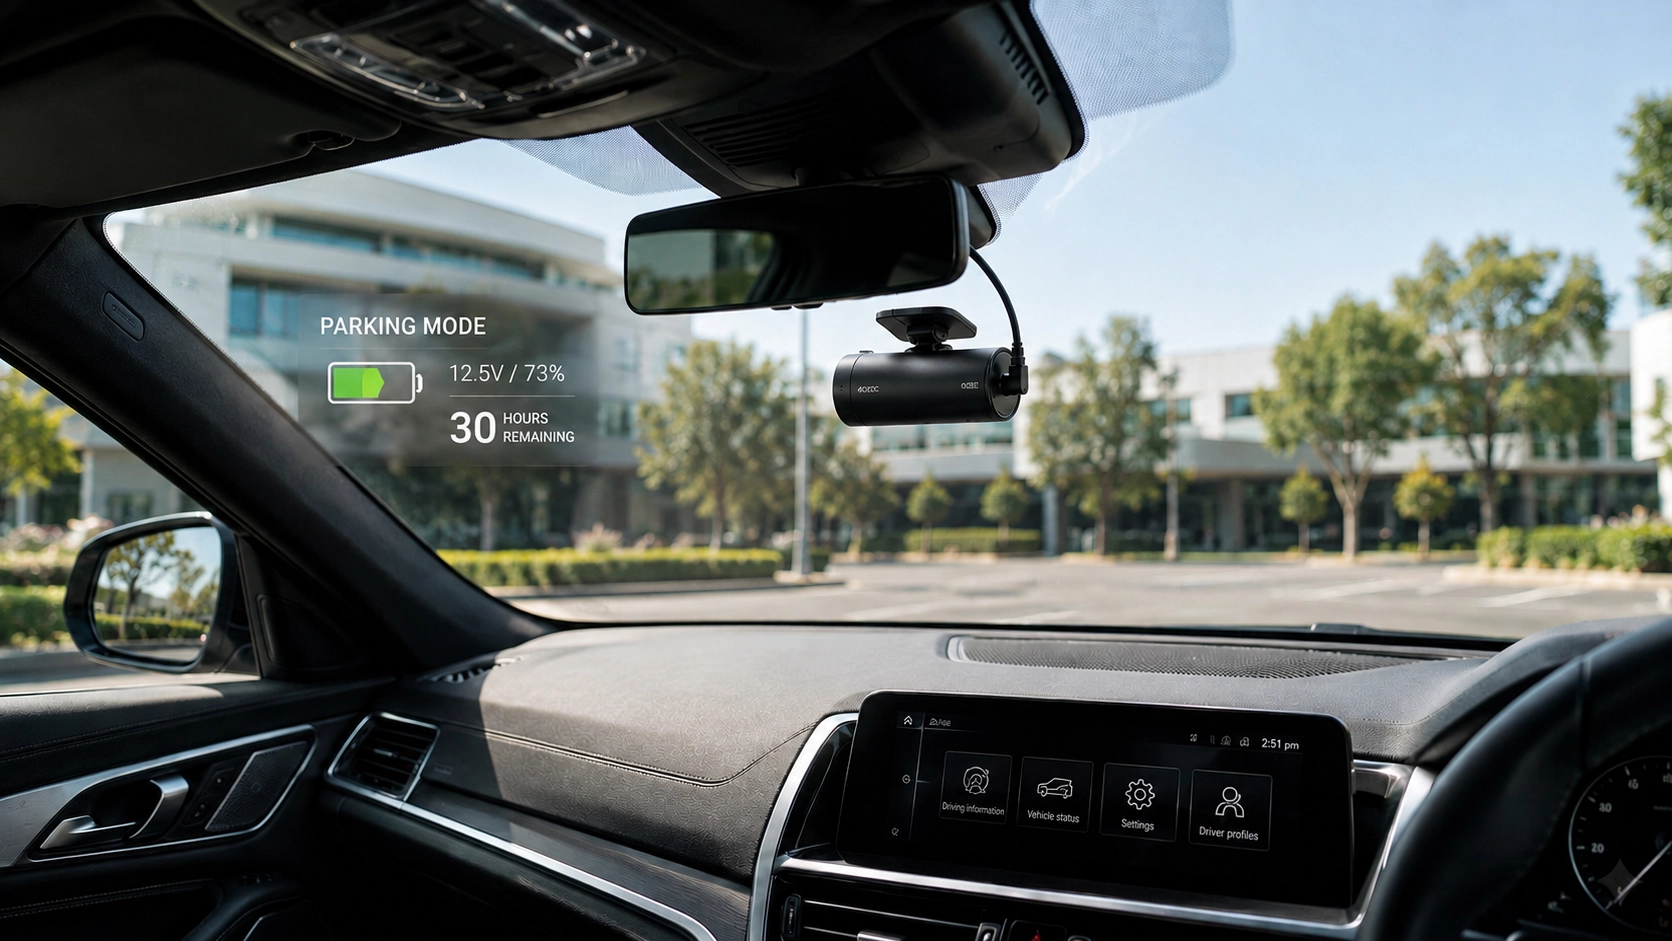
Choose a kit with stable regulation and a selectable cut‑off like 12.0, 12.3 or 12.5V. This keeps the camera recording cleanly during long park times and protects the battery on cold mornings.
- Prefer kits with low standby draw, correct fuse taps and clear labels.
- Avoid no‑name USB adaptors without cut‑off or proper filtering.
Ground to bare metal with care
Pick a clean bare metal point, fit a ring terminal, crimp, heat‑shrink and torque the bolt so it cannot loosen. Use a factory ground when available, test continuity with a multimeter, and finish with a small smear of dielectric grease to prevent corrosion.
Route cables like factory
Neat runs stop noise and rattles, and they keep airbags clear. Follow the headliner, A‑pillar and sill paths, but stay out of the airbag deployment zone and copy the path the car maker used.
Fit noise filters sparingly
If you pick up radio hash, clip a ferrite core close to the camera or the power kit. If there is whine on the speakers, fix earths and routing first before adding filters.
Fuse It Right
Size the add‑a‑circuit fuses to match both the original circuit and the dash cam kit. Label the add‑a‑circuit legs so the next technician immediately understands the change.
Parking Mode That Won’t Drain Your Battery
Parking mode is the feature most likely to create interference or drain the battery if it is set up poorly. A smart plan makes it reliable and safe without waking control modules all night.
External Battery Packs
A dedicated dash cam battery takes the load off the car when parked for long periods. It charges while you drive and powers the camera when parked, which keeps factory systems untouched.
Tweak Motion Sensitivity
Busy streets or windy nights can create constant triggers that waste power and fill the card. Dial in g‑sensor and motion settings so you balance useful captures with healthy battery life.
EVs, Hybrids and Euro Cars
Some hybrids and EVs keep low‑voltage systems live more often than a standard petrol car. Use the correct ignition source and watch standby draw, or parking mode can run longer than planned.
European vehicles can be sensitive to added loads on body control circuits. Avoid piggybacking high‑priority fuses and use a proven battery pack if you need long parking clips.
Signs You Might Have Interference Right Now
Radio static that gets worse when the camera starts recording is a strong clue. Other red flags to watch for:
- Flicker in the reversing camera feed when the dash cam is active, pointing to power noise or shared wiring.
- A pulsing whine from the speakers that starts with recording, often a grounding problem.
- Random reboots or shutdowns, usually voltage sag or a poor hardwire kit.
- Rapid battery drain or warning lights after parking, which can mean a module is being woken by the chosen fuse.
Cards, Heat and Restarts
Many “my dash cam keeps restarting” cases are tired microSD cards rather than a wiring fault. Use high endurance cards and replace them on a schedule, especially through hot Melbourne summers.
Cameras also throttle or shut down if the cabin bakes in the sun to protect the electronics. That behaviour is normal and not a sign of interference from the car.
For more tips on common mistakes that shorten a dash cam’s life, see these surprising habits that ruin your dash cam fast.
Warranty, Insurance and Peace of Mind
A poor install can void warranties or break trim clips that cost more than the camera itself. A professional approach protects your rights, looks factory and keeps dealers comfortable with the setup.
If your insurer needs footage, a stable system with parking mode can make a fast claim much easier. Keep a copy of your install notes and settings so you can show the system was configured correctly.
Installer Checklist
Confirm the camera firmware is up to date before you start, then map out power and earth points on paper.
- Test for true ACC and constant with a multimeter rather than guessing fuses.
- Bench test the camera and hardwire kit on a power supply for at least 30 minutes.
- Use proper crimps and heat shrink on every join to avoid loose connections and corrosion.

Why Choose DNH Dash Cam Solutions
DNH Dash Cam Solutions is a Melbourne‑based mobile installer that focuses on safe, tidy, factory‑looking work for everyday drivers and enthusiasts. The team powers cameras from the right circuits, protects your warranty and tests radio reception before the handover.
Services cover single, dual and three‑channel systems, plus external battery packs for long parking mode sessions.
Ready for a Worry-Free Install?
Skip the guesswork and get a clean, low-noise install that works reliably in Melbourne traffic and weather. We test radio reception, parking‑mode draw and battery behaviour after every install so your footage works when you need it.