TL;DR: An anti-vandal dash cam setup is less about a fancy camera and more about making it hard to disable while it keeps recording when the car is parked. Get parking mode right, use buffered recording, hardwire it with proper voltage protection, and hide the wiring so you actually walk away with usable evidence.
Key Takeaways:
- Parking mode plus buffered recording is what captures the lead-up, not just the impact.
- Hardwiring with voltage protection keeps the camera alive without punishing your battery.
- Hidden wiring and discreet placement make quick tampering much harder.
- A quick real-world test is the fastest way to confirm your settings actually work.
You can spend good money on a dash cam and still lose the footage the one time you actually need it, simply because someone unplugged it or pulled the card. If you want real protection from tampering and vandalism, you need an anti-vandal dash cam setup that is built for what happens when your car is parked and you are not there.
Recording isn’t protection
Most dash cams do their best work while you’re driving, because the car’s on, the camera’s awake, and nobody’s trying to mess with it. As soon as you park, the risks change, because that’s when hit and runs, door dings, keying, break-ins, and quick tampering usually happen.
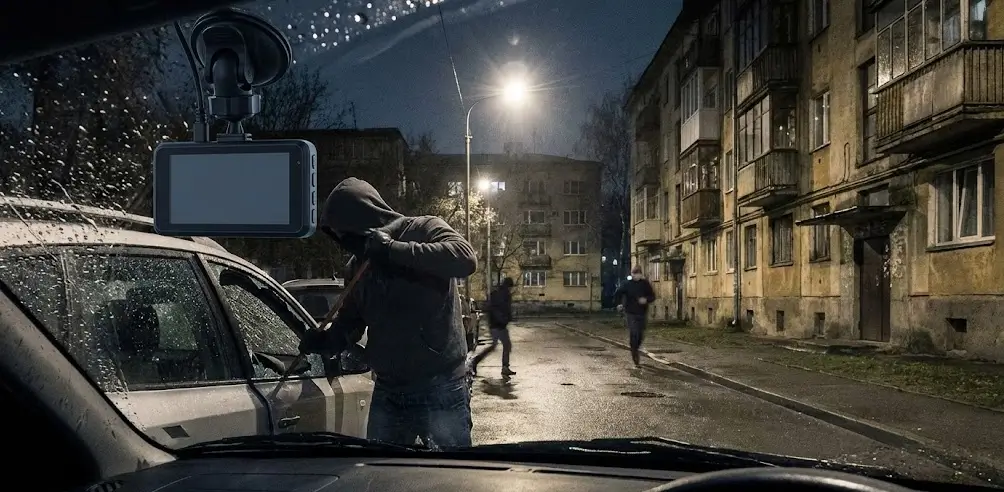
What “anti-vandal” really means
No dash cam can physically stop someone from vandalising your car, but the right anti-vandal dash cam setup makes it far harder for them to get away with it. It keeps recording while parked, grabs usable footage when something happens, and makes quick tampering a lot less likely to work.
How Dash Cams Spot Tampering
Dash cams don’t detect “vandalism” directly, but they do catch the triggers that usually come with it. If you want an anti-vandal dash cam setup that holds up in the real world, focus on these four.
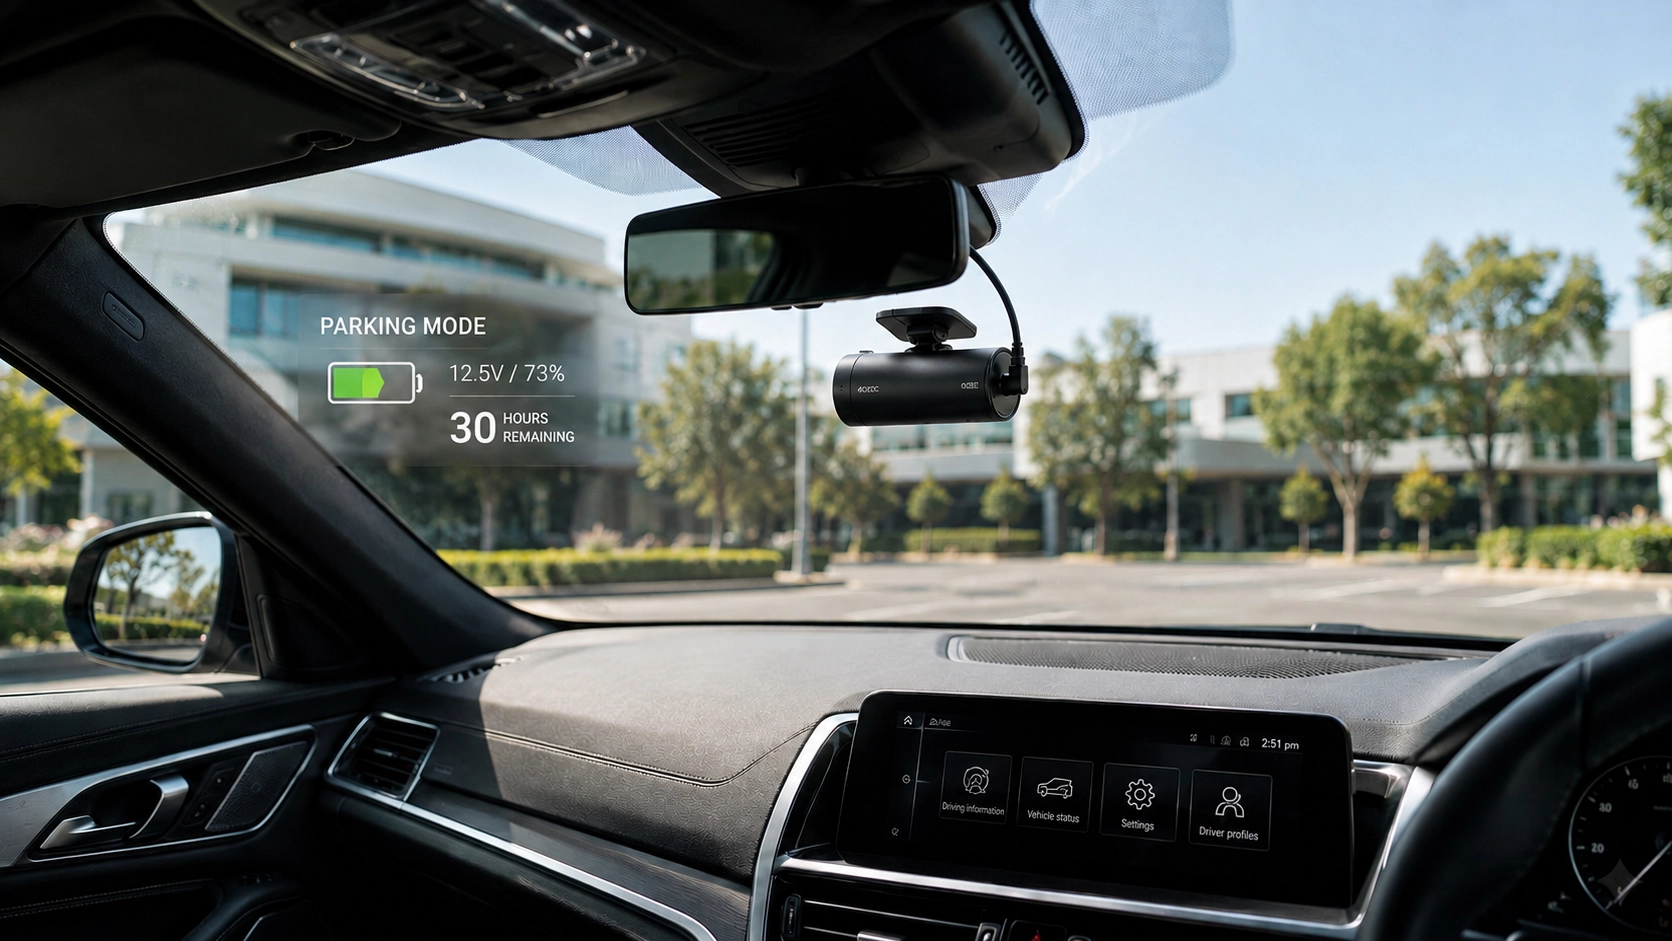
Parking mode
If the camera sleeps when the car is off, it cannot capture anything, simple as that. Proper parking mode keeps it recording while you’re away, and most failures come from it not being enabled, not being wired correctly, or being set too sensitive or not sensitive enough.
Impact detection
A bump, jolt, or hit can trigger an event clip that gets saved separately, which is ideal for car park hits and street bumps. It also helps you spot that something happened, instead of finding damage days later and having no idea when it occurred.
Motion detection
Keying and lurking often show up as movement before they show up as impact. Motion detection can capture the approach, but placement matters because the camera can only record what it can actually see.
Buffered parking recording
This is the feature that saves you from the worst timing, because it records the seconds before the trigger as well. If you’ve ever had a camera miss the start of an incident, you’ll recognise the pattern in these dash cam delay issues that cost drivers usable evidence.
How vandals disable dash cams
Knowing what can go wrong helps you build a setup that makes tampering harder and less likely to succeed.
- Unplugging (plug-in power): If it’s running off the cigarette lighter, it’s easy to pull and the messy cable is a dead giveaway. Better fix: Hardwire it to the fuse box so it powers on automatically and can run parking mode when the car is off.
- Stealing the card: If the microSD pops out in seconds, someone can take your evidence, or it can get knocked loose without you noticing. Better fix: Use a tamper-resistant housing so the card and cables are harder to access quickly.
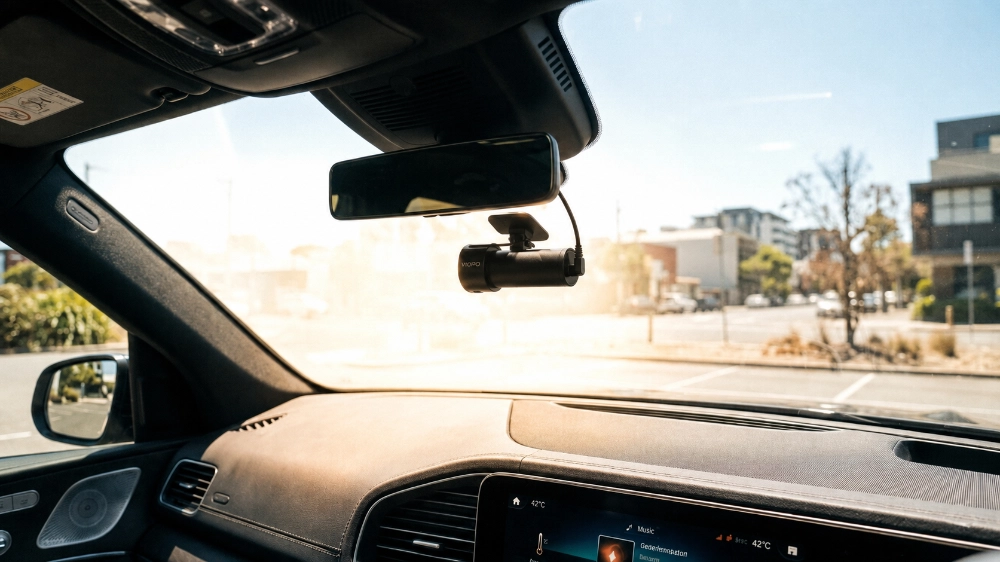
- Removing the camera: Some mounts let the unit twist off fast, especially if it’s obvious and easy to reach. Better fix: Mount it discreetly behind the rear-view mirror and hide the wiring so it looks built-in and isn’t tempting.
- Killing the power: Parking mode needs stable power, and poor wiring is a common reason it stops recording when you need it most. Better fix: Use proper voltage protection so it doesn’t shut down early, drain the battery, or record so little it’s useless.
The anti-vandal setup that works
A good anti-vandal dash cam is not one feature, it is a stack. Think of it like home security: a camera helps, but wiring, angles, alerts, and power are what make it reliable.
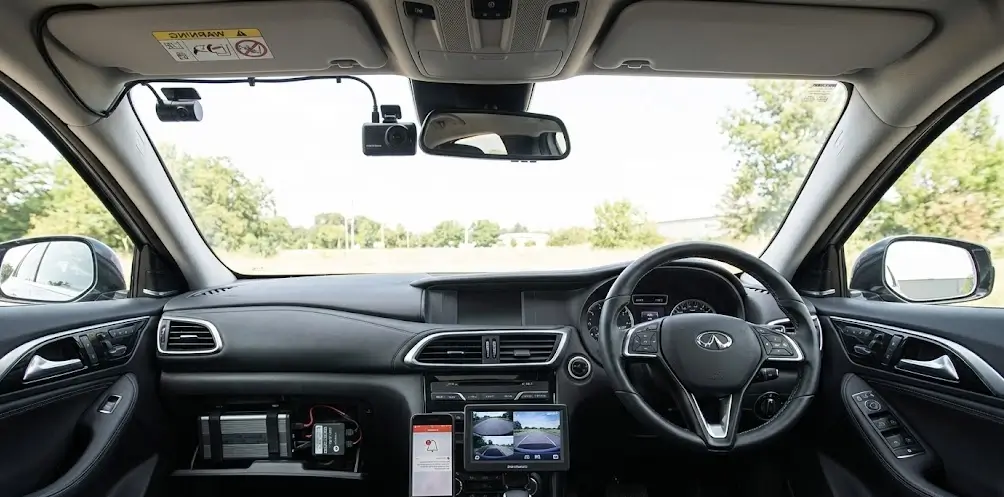
Step 1: Pick your coverage
If you park on the street or in busy car parks, a two channel system that records front and rear is the sensible baseline. If you drive rideshare, park in higher-risk spots, or want extra proof inside the cabin, go three channel, and consider a professional 3-channel dash cam install so the coverage and wiring are done properly from day one.
Step 2: Set up parking mode
Parking mode is not a set-and-forget switch, because the wrong mode or sensitivity either misses events or records junk all night. Set it for your parking reality, then test it once so you know it triggers on the stuff you actually care about.
Step 3: Get power right
Power is where anti-vandal setups either stay awake or quietly give up after an hour. A proper hardwire kit with voltage protection, or an external battery pack if you need longer coverage, keeps parking mode running without flattening your battery.
Step 4: Hide the wiring
Visible cables make the camera easy to spot and easier to disable. A clean, hidden-wire install tucks everything behind trims, avoids airbags, and also cuts down on accidental unplugging.
Step 5: Add tamper resistance
A tamper-resistant case slows down anyone trying to yank cables or grab the memory card. It will not make the camera theft-proof, but it turns a quick disable into a noisy, tool-required hassle.
Step 6: Test it
After install, do a quick real-world test by walking past the car and giving the body a gentle tap, then check the clips. If you never test it, you are trusting luck, and luck is exactly what fails when you need evidence.
Buying checklist for anti-vandal
If you want the label to mean something, use this quick checklist before you buy. It stops you paying for flashy extras while missing the basics that actually save footage.
Proper parking recording
- Parking mode that uses both motion and impact triggers
- Buffered parking recording so you capture the seconds before the event, not just after it
- A fast reality check after install: trigger an event and confirm the clip saved the way you expected
Safe power for your lifestyle
- Hardwire kit with voltage protection so parking mode can run without flattening the battery
- Optional external battery pack if you need longer parking coverage overnight
- Sensible cut-off settings so the car still starts in the morning
Discreet, hard to disable
- Mount it where it’s hard to spot, usually tucked behind the rear-view mirror
- Make sure wiring is fully hidden, not dangling where anyone can grab it
- Consider a tamper-resistant case if you’re worried about quick card or cable access
Why DNH DashCam Solutions
DNH Dashcam Solutions is a Melbourne-based mobile installer, so you can get a professional dash cam or reverse camera setup fitted at a location that suits you, across service areas within roughly 50 km of the CBD. The install is done with a factory-finish look, with hidden wiring and clean routing so the camera is less obvious and harder to mess with.
They can supply trusted brands or install a dash cam you already own, then show you how to use the app, check footage, and confirm parking mode is actually working. Workmanship is backed by a 24–36 month warranty depending on the job, plus support after install so your settings and power plan match how and where you park.
Ready for a harder-to-tamper setup
If you want an anti-vandal dash cam that actually records when you are not there, let’s set it up properly from the start. DNH DashCam Solutions can recommend the right camera, plan the best parking mode and power option, and install it with a clean factory-style finish at your location.