TL;DR: A mobile dash cam installation makes the setup easier by bringing the installer to your location, fitting the camera neatly, hiding the wiring, testing the system, and showing you how to use it before you drive away.
Key Takeaways
Installing a dash cam seems simple until you consider wiring, parking mode, camera placement, and setup details. That’s why many drivers choose mobile dash cam installation services in Melbourne to ensure a clean setup, clear visibility, and reliable recording when it matters most.
This guide explains what usually happens before, during, and after a mobile installation. It is written for everyday drivers, family car owners, commuters, rideshare drivers, work vehicle users, and anyone who wants reliable footage without messy cables.
The process usually starts with a few details about your vehicle, dash cam, and preferred installation location, as these factors can affect how the job is completed. Different vehicles require different installation methods based on their layout, power access, and camera routing.
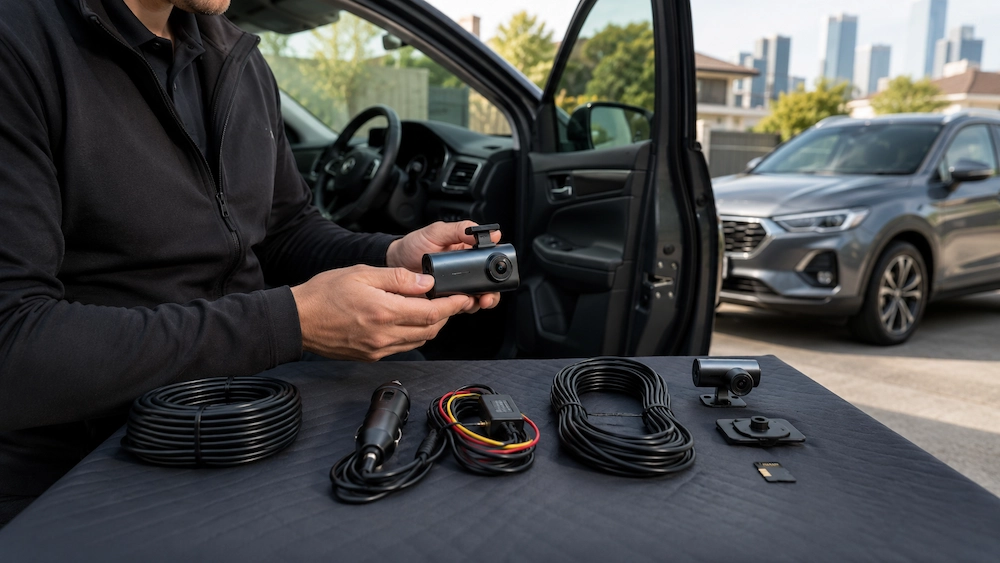
This step also confirms whether your dash cam is front-only, front and rear, or a three-channel setup with cabin recording. If you already own the dash cam, the installer may need to confirm you have the correct hardwire kit and required accessories.
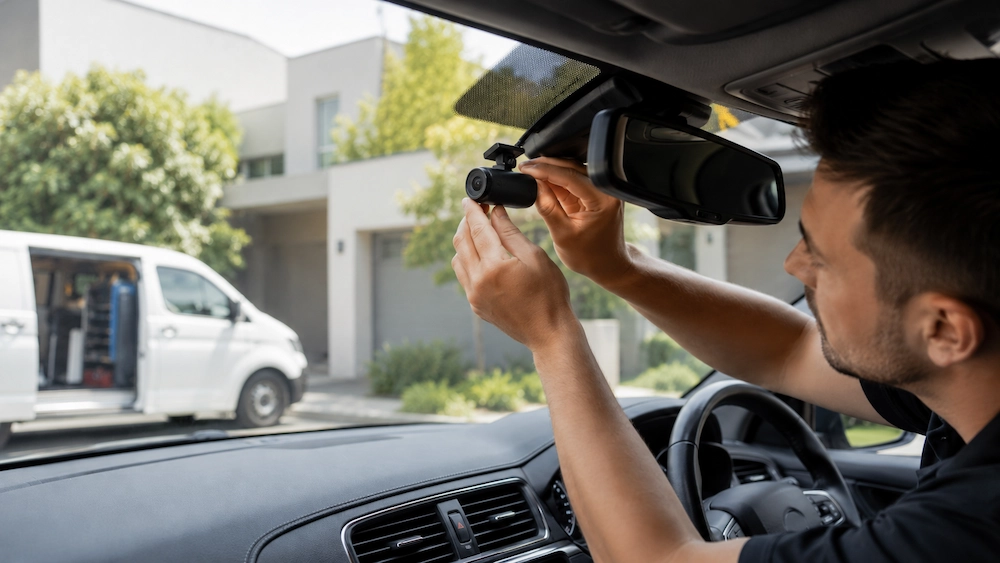
Many Melbourne drivers choose mobile installation because the installer comes to them, whether at home, work, or another convenient location. For busy drivers, that convenience helps ensure the install gets done properly.
Ensure the location is suitable for safe and efficient installation:
When the installer arrives, they will usually inspect the vehicle and confirm the setup before fixing anything in place. They’ll check key areas of the vehicle to find the best camera position for clear footage without obstructing the driver’s view or affecting vehicle features.

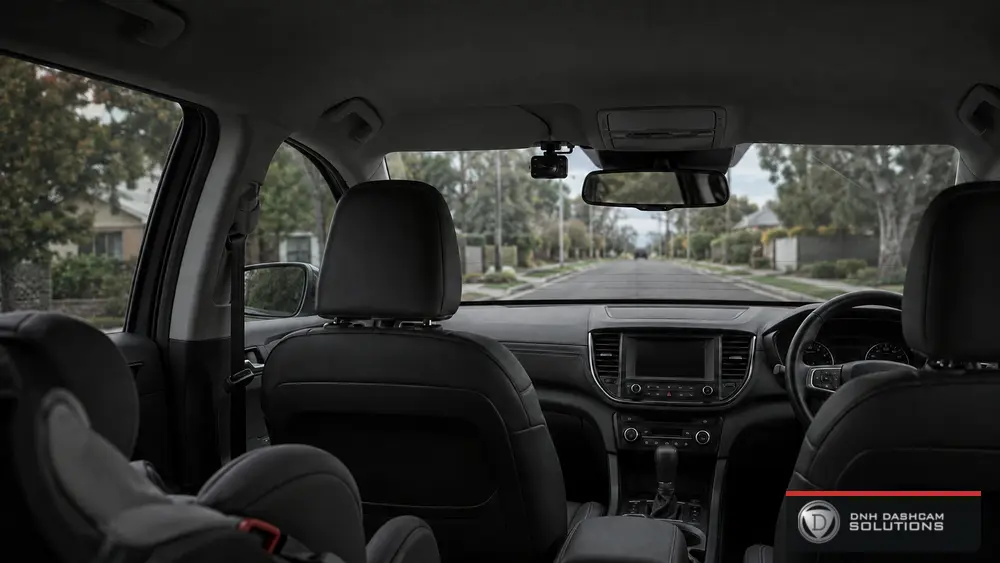
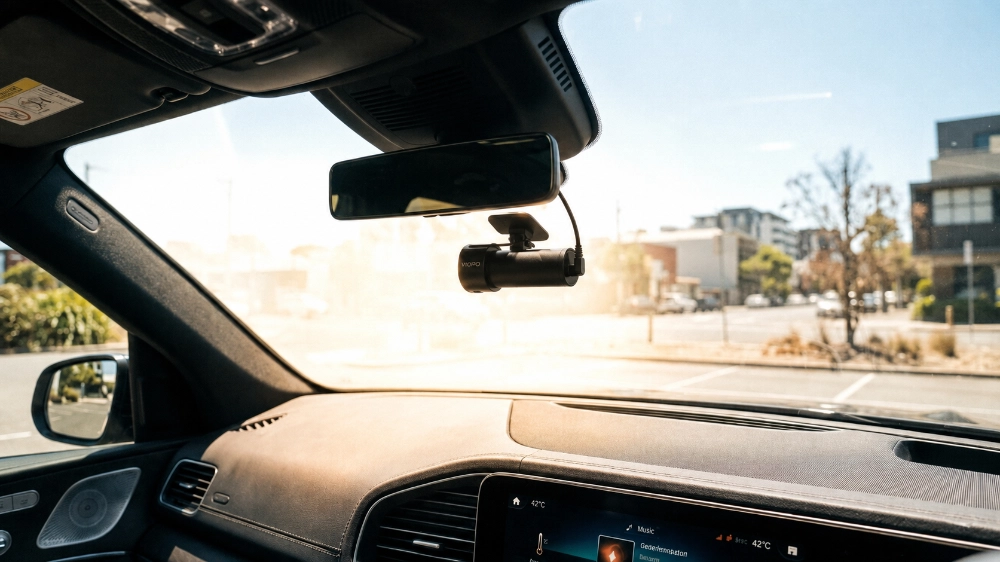
For a front camera, installers typically choose a discreet position near the rear-view mirror to capture a clear view of the road without obstructing visibility, while also checking rear camera placement, cable routing, and cabin camera angles for effective coverage.
Professional dash cam installation features clean, hidden wiring instead of loose, distracting cables. By routing cables through trim panels where possible, the installer creates a neat, factory-style finish that keeps the interior looking tidy and uncluttered.
This part of the work requires patience because every vehicle’s interior is different. The installer must avoid careless pulling, pinching, or forcing of panels while routing cables around airbags, moving trims, door seals, boot lids, and hatch openings.
Many dash cams can be powered through a cigarette lighter socket, but hardwiring is often preferred for a cleaner’s setup. Hardwiring keeps cables neatly hidden, frees up the socket, and is often needed to enable parking mode.
A professional installer will identify the correct power source, fit the hardwire kit properly, secure the wiring, and ensure the dash cam operates as intended. Using the right hardwire kit is important, particularly for dash cams that require specific support for parking mode or battery voltage protection.
Tell the installer before the booking is confirmed. Some dash cams need a model-specific kit, and bringing the wrong one can slow the job down or stop parking mode from being set up properly.
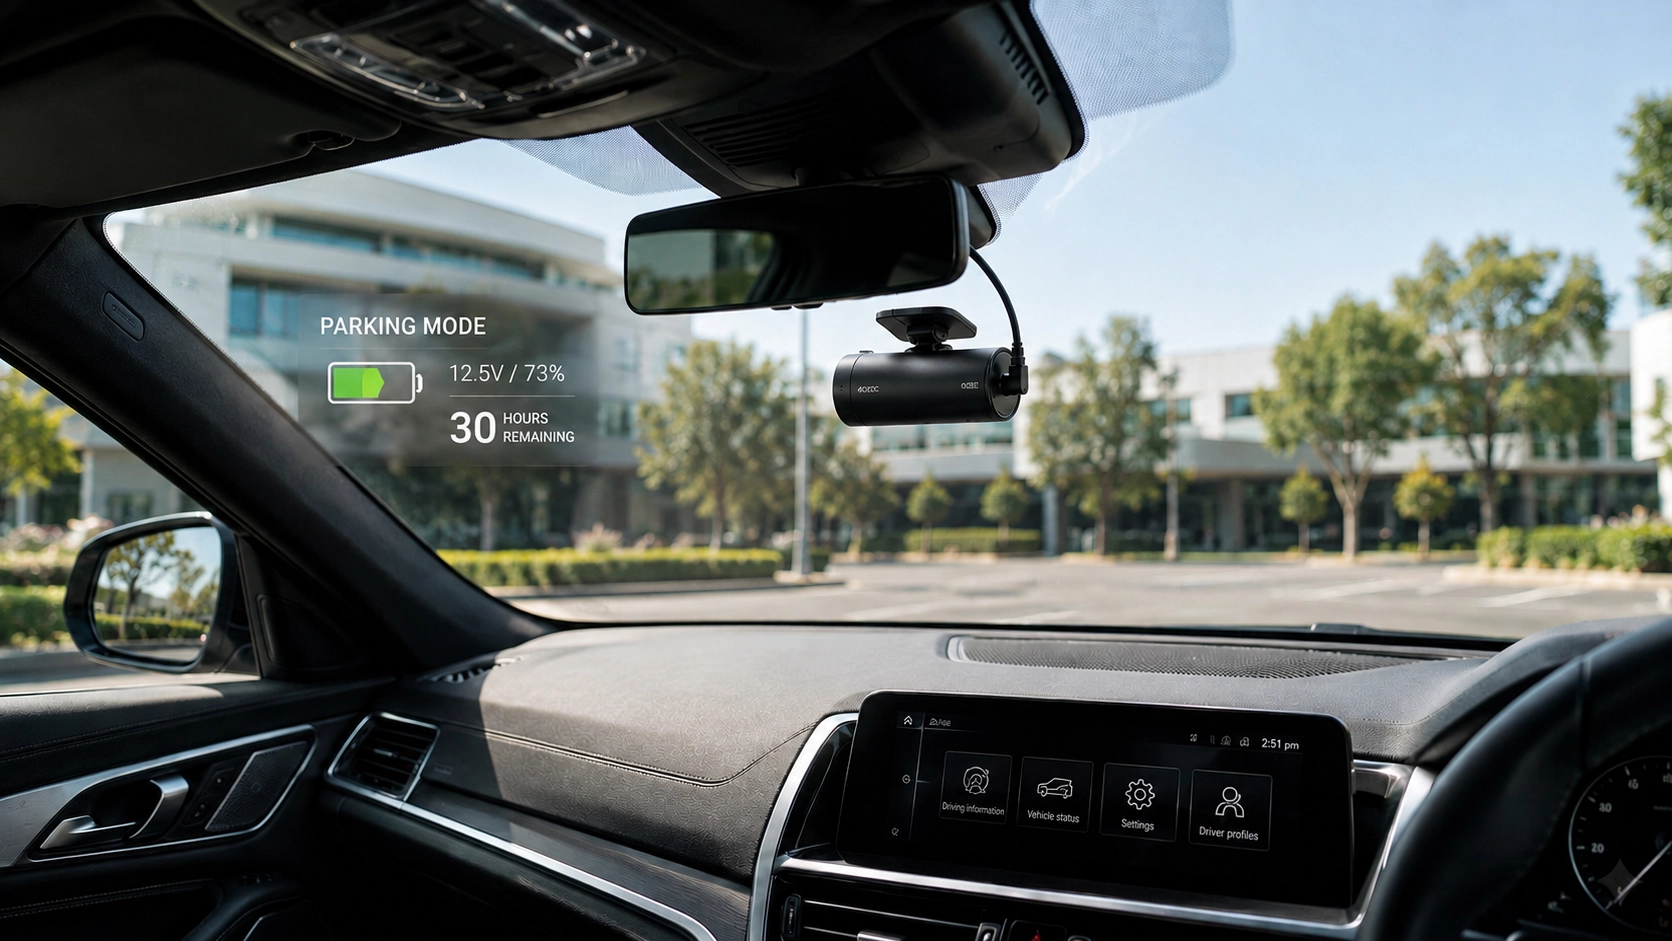
Parking mode is a key reason many drivers choose a hardwired dash cam, as it can record impacts, movement, or activity around the vehicle even when the engine is off. This is especially useful when parked on the street, in car parks, at work, or overnight.
However, parking mode should be configured correctly to balance recording time with battery protection, as different dash cams operate in different ways. Some drivers also choose an external battery pack to extend parking mode recording while reducing strain on the vehicle battery.
Once the cameras and wiring are installed, the installer should test all channels to confirm power, recording, camera angles, memory card function, and clear footage before handover. Before driving away, quickly check that the dash cam is set up properly and recording:
Many modern dash cams connect to a smartphone app, and during handover the installer can help you set it up and show you how to access footage. This ensures you know how to use the system confidently before you ever need it after an accident or parking incident.
The handover should also cover simple ownership habits. Drivers should know how to confirm the camera is recording, access footage when needed, and understand basic memory card maintenance so they can use the system with confidence.
Make sure the car is available at the agreed time and parked somewhere the installer can safely work. Remove clutter around the windscreen, centre console, glove box, boot, and rear window area, especially if a rear camera is being installed.
Bring all dash cam components you already have and confirm any supplied equipment with the installer before the appointment. It also helps to decide what matters most to you, such as parking mode, front and rear coverage, cabin recording, discreet placement, or longer recording while parked.
DNH Dashcam Solutions is a Melbourne-based mobile installer for dash cams, reverse cameras, and external battery packs. The team handles a wide range of dash cam systems, including 1-channel, 2-channel, and 3-channel setups, with options for both supplied and customer-owned devices.
The company’s approach fits drivers who value tidy hidden wiring, practical advice, correct setup, and a clear demonstration after installation. It suits everyday drivers who want reliable recording without a messy DIY finish.
If you want a dash cam fitted neatly, tested properly, and explained before you start using it, contact DNH Dashcam Solutions for a mobile dash cam installation Melbourne service. Share your postcode, car make and model, vehicle year, dash cam brand and model, and whether you already have a hardwire kit so the team can guide you on the right setup.